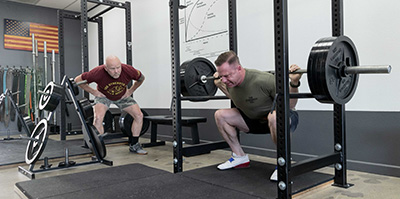
Equipment Needed For Starting Strength
By Grant Broggi, SSC
The most common barbell equipment questions we get at The Strength Co. are from people about to begin with the Starting Strength program and are not exactly sure what equipment they will need to begin their Linear Progression. The answer is, not much. Starting Strength is a very simple program and does not require lots of equipment. Here’s the list in short, and some thoughts on things to look for.
The Barbell:
Don’t go cheap here, this is the object that you interact with for every lift in the program. Make sure it’s not bent, make sure it weighs the correct amount, and select a finish based on how much maintenance you want to perform. Bare steel bars = maintenance, coated bars = no maintenance.
Barbells come in various diameters, the two most popular are 28.5mm and 29mm. I recommend a 28.5mm bar for most general strength trainees. The slightly smaller diameter allows for various hand types (men and women) to grasp the bar securely in a deadlift.
A 29mm bar is going to be more rigid and have less whip. Some people like this and thus choose to go with the thicker diameter.
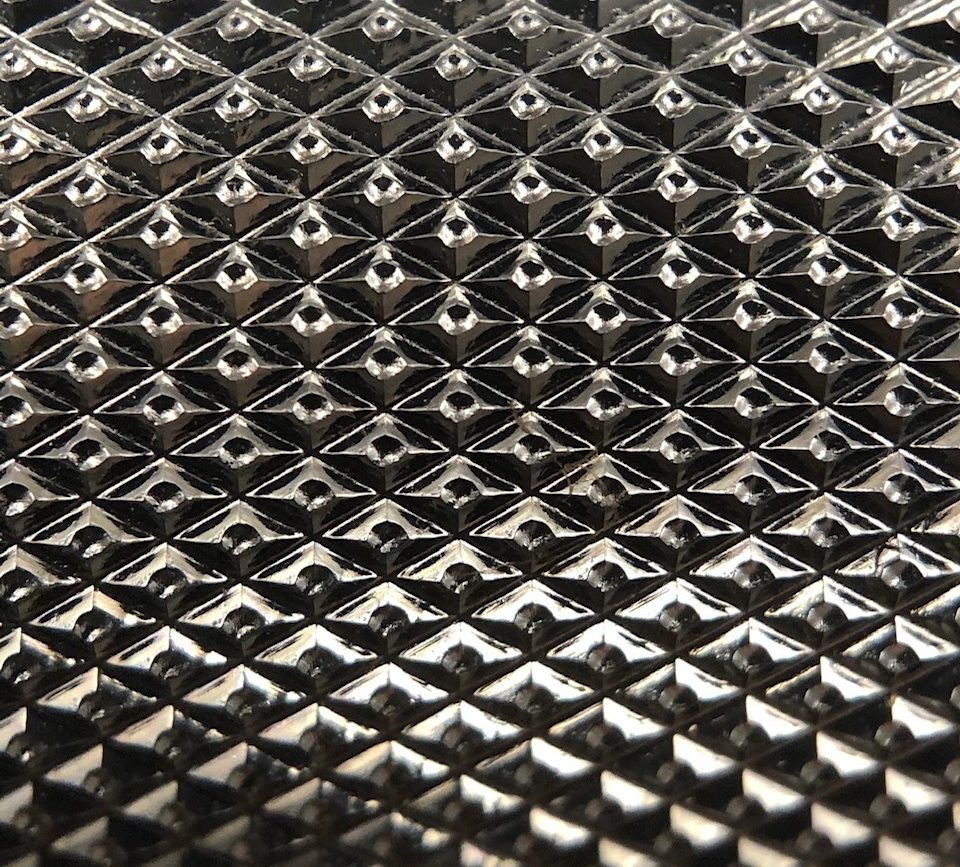
There are various knurling patterns on barbells. They are often described by their aggressiveness. “Power Bars” (used in the sport of powerlifting), generally have a more aggressive knurling that makes the bar bite into your shirt a little bit better and also provide more for you to grip with when deadlifting. If you are very strong and dealing with lots of weights than I would recommend this, if your mom is also going to be using the same barbell she might find it too aggressive.
A quality general bar will have enough knurling for you to grip and for it to grip you in the squat. Remember, the knurling should always be exposed. You do not chalk the bar, you chalk the hands to remove any sweat and ensure that any chalk is brushed out of your knurling so that you can take a better grip.
The Rack:
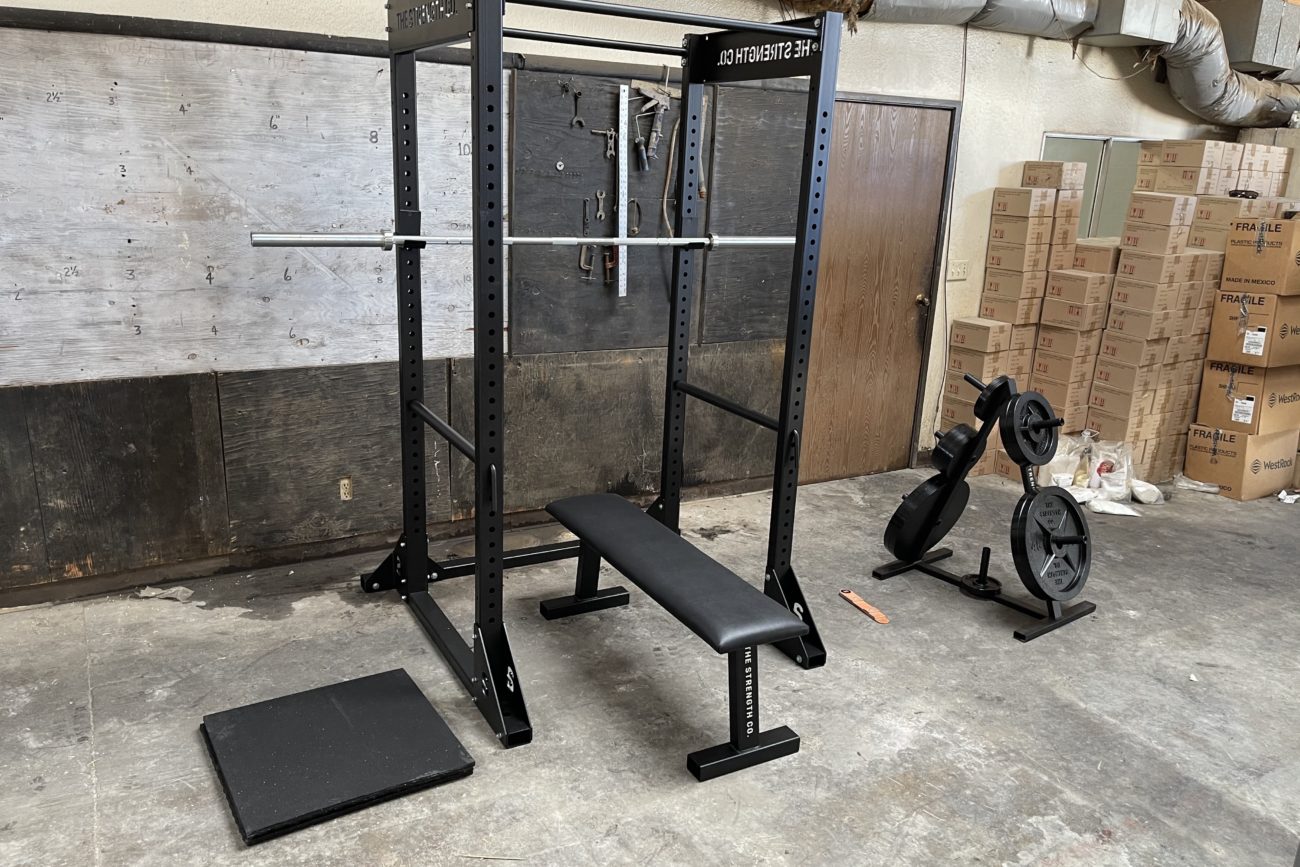
Anything that you can unrack a squat, press, and bench press from will do. Preferably equipped with safeties in case you need to lift alone. If you have enough room, better to go with a power rack to ensure you can safely perform all the lifts without the requirement of a spotter.
2×3” 11 gauge steel will be sturdy enough to support the load and also thick enough to give you the feeling of stability (won’t wobble like a rack made of cheap thin steel). This is important as you get stronger.
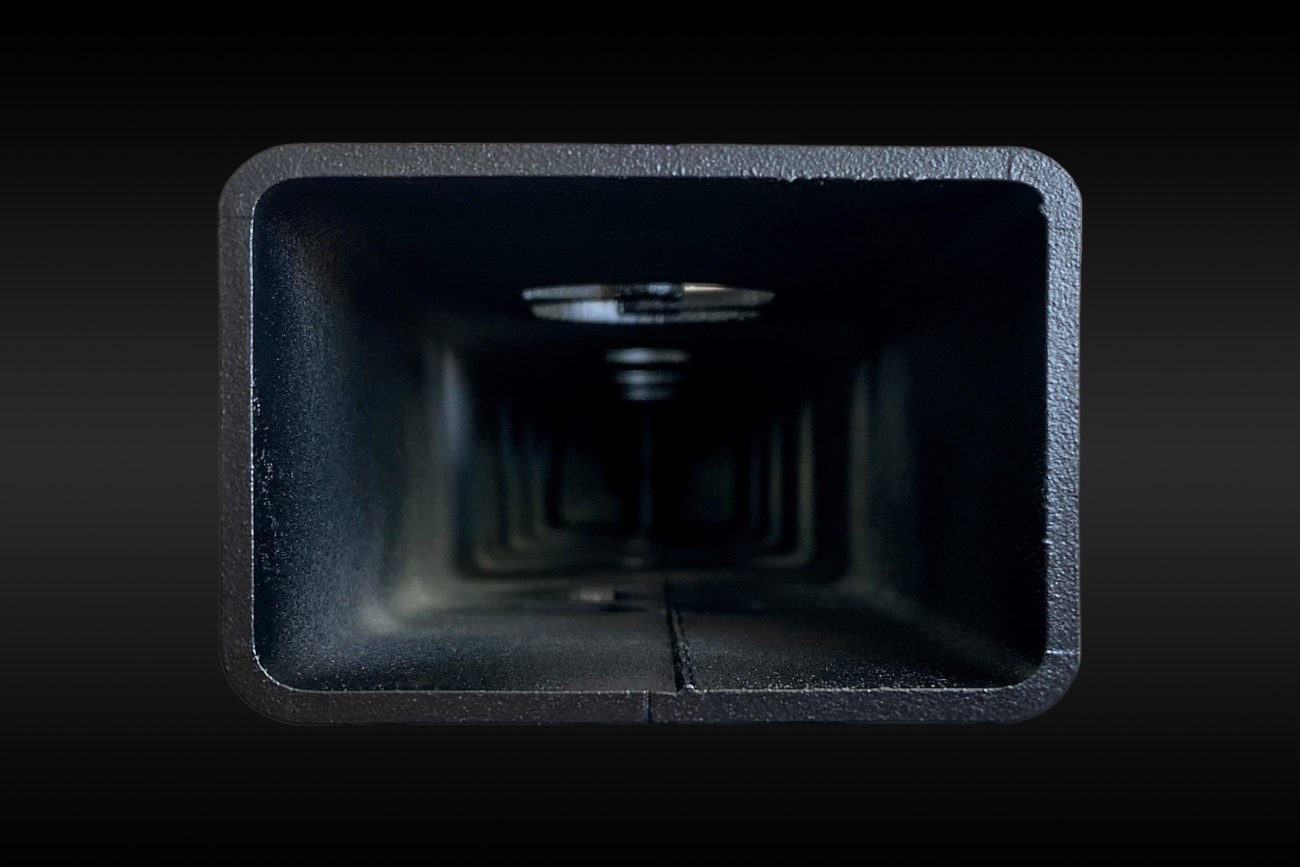
2” hole spacing is pretty standard, and some racks come with “Westside Spacing” which is 1” apart. This can be useful for setting safeties on the bench press, particularly for those with a smaller chest.
Weights:
You want weights that are accurate, the correct diameter (on your 45s), and hopefully maintenance free. Cast Iron tends to be less expensive than bumper plates and few people will require bumper plates unless they are going to train the Olympic Lifts. Bumper plates also wear over time as a good Cast Iron plate will outlive you.
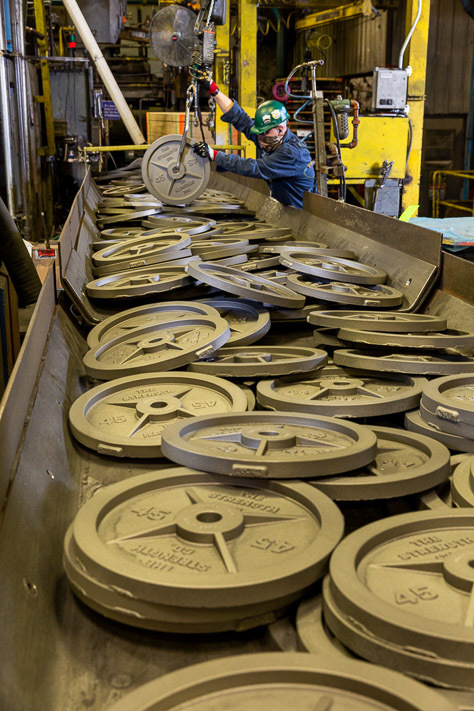
How much weight you need depends obviously on how strong you are. You will need the following at a minimum:
(2) 45s, (2) 25s, (4) 10s, (2) 5s, (2) 2.5s, (2) 1.25s. We suggest using some American made plates.
When doing your Novice Linear Progression it’s imperative that you do not make too big of jumps from session to session. Typical weight sets include 35lbs plates and only give you a pair of each – the problem with this is that as you progress in weight you will get to a point where you have to make a 15lbs jump, much too large for your NLP. An extra pair of 10s fixes this problem.
As you get stronger you can just add more 45s to your set.
The Bench:
Flat, sturdy, and a top of your choice. I prefer a cushioned top, some people like wood. I prefer 10” in width of the top, some prefer a 12” width top. Don’t overthink it, find a sturdy bench and get to work.
Collars:
Collars will keep your weights from sliding around and hold everything in place. We recommend usage of them for all lifts except for the Bench Press. We do not use collars in the bench press just in case you fail a rep and do not have a spotter or safeties; worst case you can dump the weights and make a bunch of noise but still get out from under the bar.
Flooring:
Some type of rubber. Horse Stall Mats or Deadlift Mats will work just fine. You do not have to cover the entire floor of your workout area. You really just need rubber wherever the plates will make contact with the floor. Some people use (3) mats, one to stand on, and two for the edge of the plates while deadlifting; that works just fine. You can also do a ¾” wood underlayment, there are lots of options. But to get started you just need a little rubber.
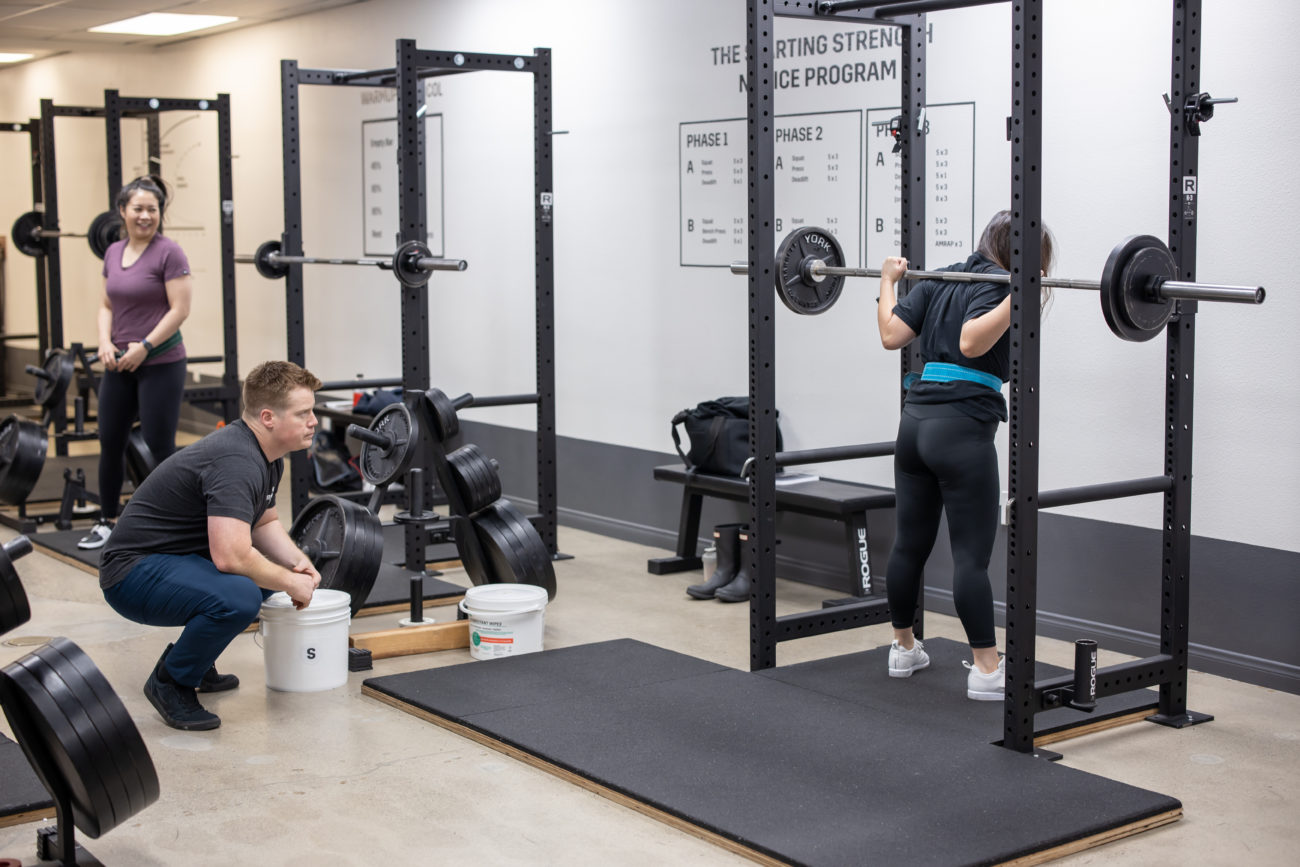
Our platforms in our gyms often draw lots of questions online. They are made of (2) pieces of ¾” ply wood and then covered with ¾” horse stall mats. The first piece of plywood is anchored into the concrete, the second then screwed to it, then topped with horse stall mats. You can measure the inside of your rack and make an insert to take up overall less space in your workout area.
If you have any questions you can always contact us or visit our store to find our American made barbell equipment.
